How to Make AI VIDEOS (with AnimateDiff, Stable Diffusion, ComfyUI. Deepfakes, Runway) - TechLead
TechLead Tutorial Summary
Table of Contents
- AI Videos: Hottest Trend in Tech | 0:00:00-0:03:40
- AI Generated Video Example: Cyborg Male Robot in Pixar Style | 0:03:40-0:06:00
- Using Midjourney and Runway Gen2 for AI Image and Video Generation | 0:06:00-0:07:40
- WAV2Lip: Sync Lips to Video Easily | 0:07:40-0:08:40
- SDXL Turbo: Real-Time Text to Image Generation | 0:08:40-10:10:10
AI Videos: Hottest Trend in Tech | 0:00:00-0:03:40
https://youtu.be/dFJxwl-azEA?t=0
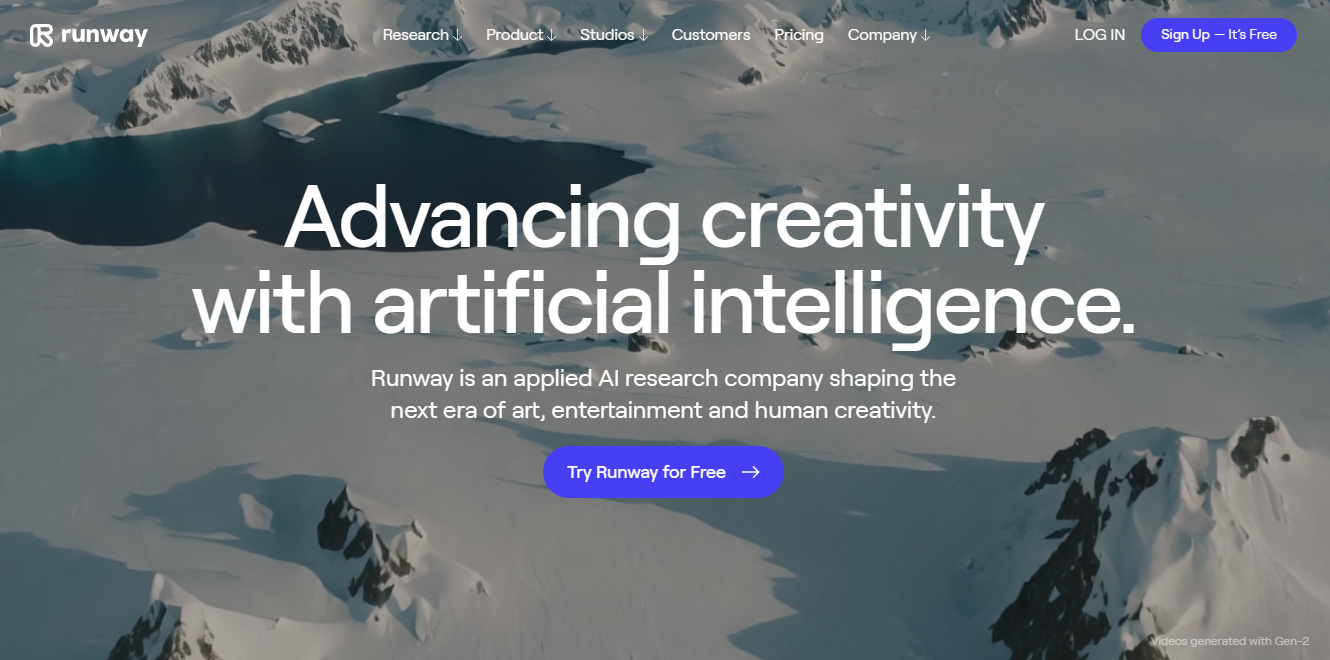
AI-generated videos can be created in two ways, both of which are based on StableDiffusion, an open-source project. The easier method involves using a service like runwayml.com, while the more challenging approach requires running your own StableDiffusion instance on your computer.
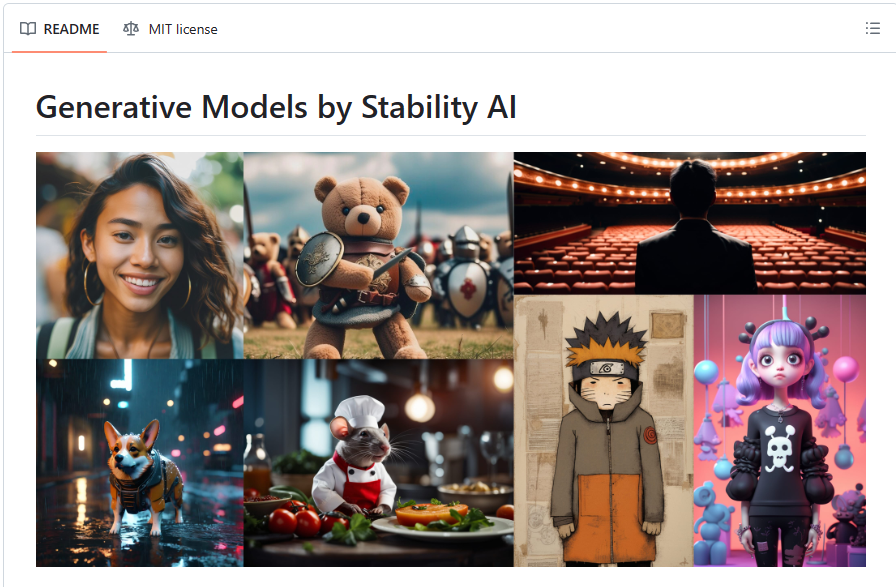
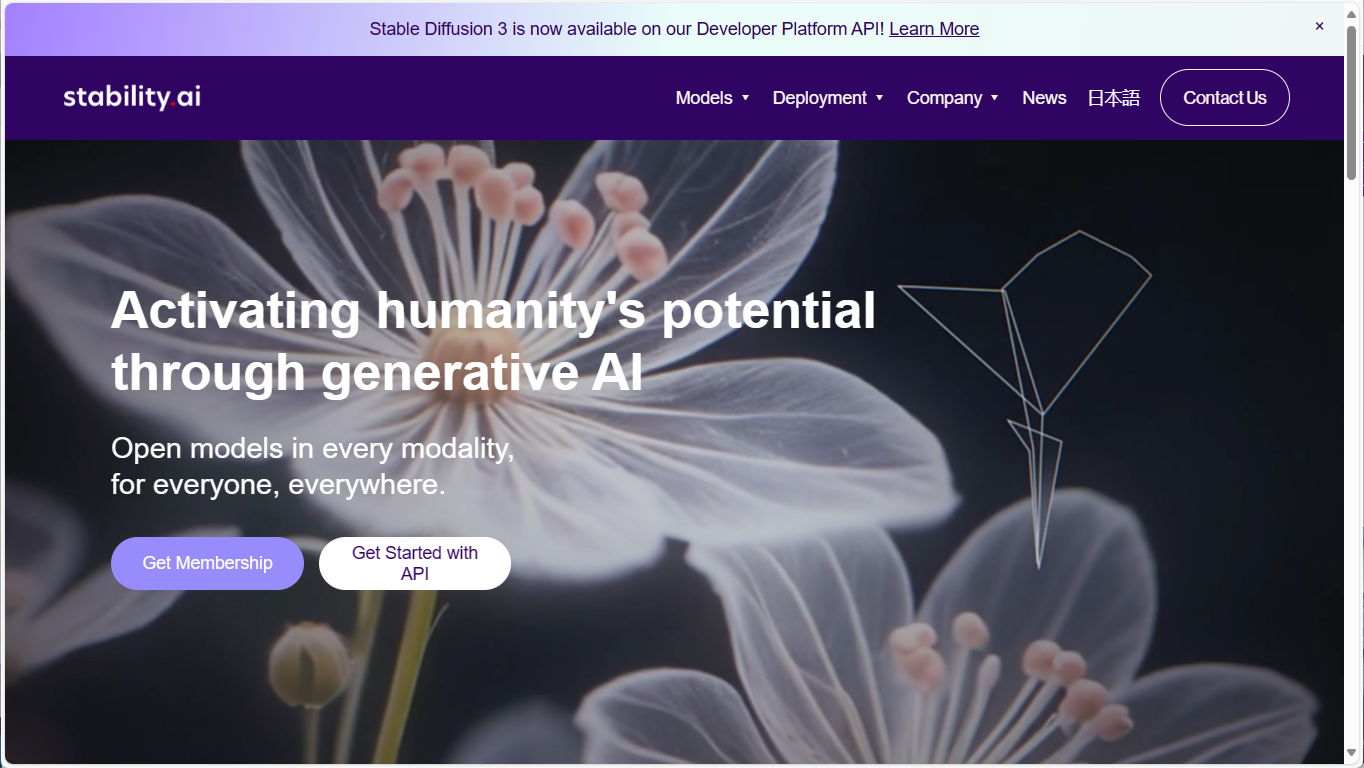
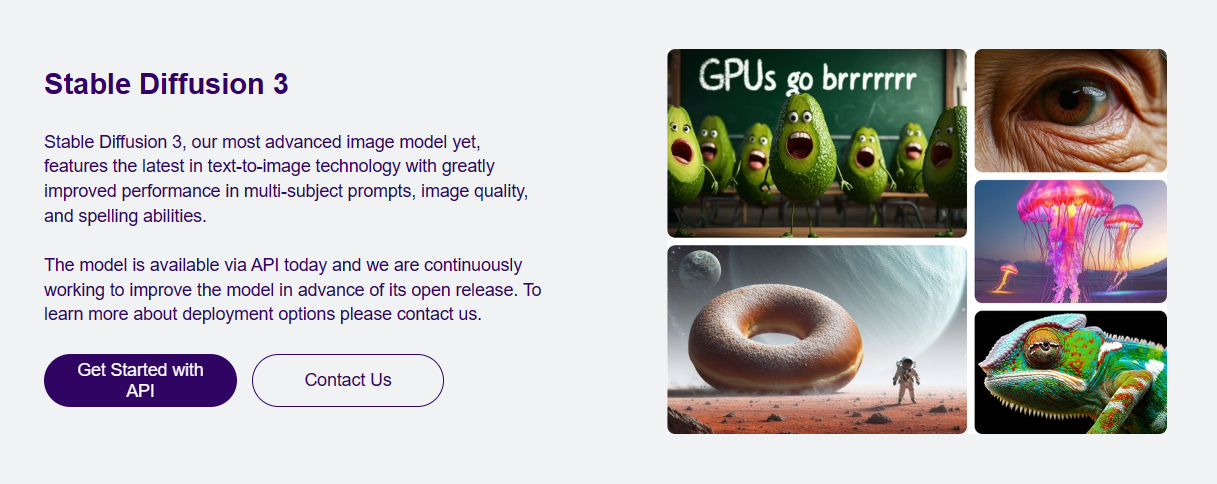
You can find Stability AI generative models, such as StableDiffusion, on GitHub.

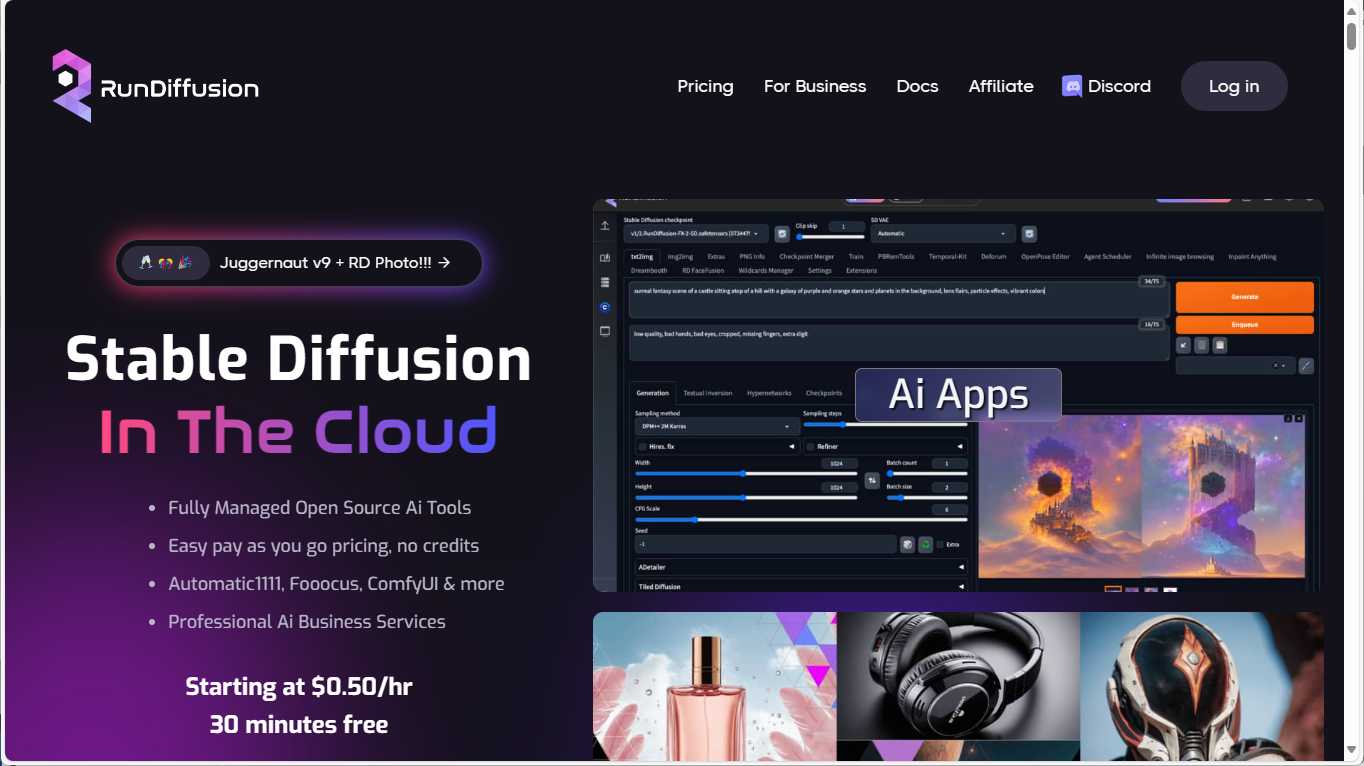
As a Mac will be used in this example, A hosted version of StableDiffusion will be used via rundiffusion.com. This service offers StableDiffusion in the cloud, which is fully managed. If you are using a Windows machine, you can run StableDiffusion natively.
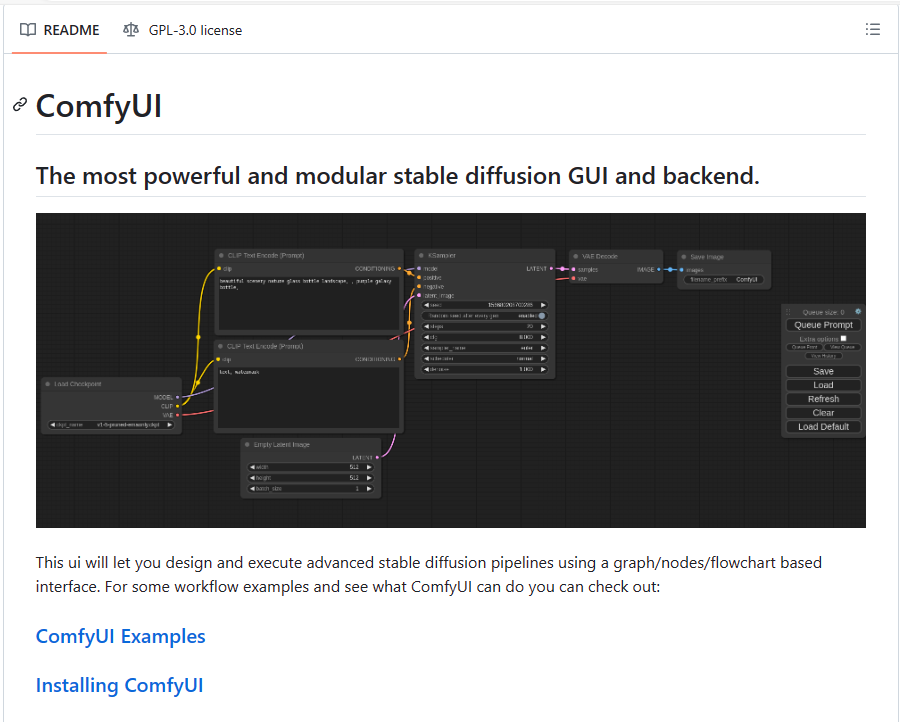
First, you need to choose a UI interface for StableDiffusion since it is essentially a command-line interface. We will use ComfyUI, a node-based editor for this project. A ControlNet JSON file is also available for download.
The animation framework, AnimateDiff, and the text-to-image AI generator, StableDiffusion, are crucial for this process. With your ComfyUI and StableDiffusion available, clear the workspace and upload the JSON file. This process will load ComfyUI, enabling you to visualize the workflows.
AnimateDiff

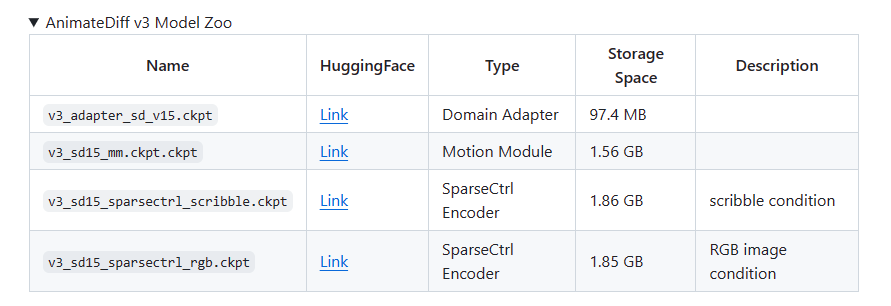
StableDiffusion
ComfyUI

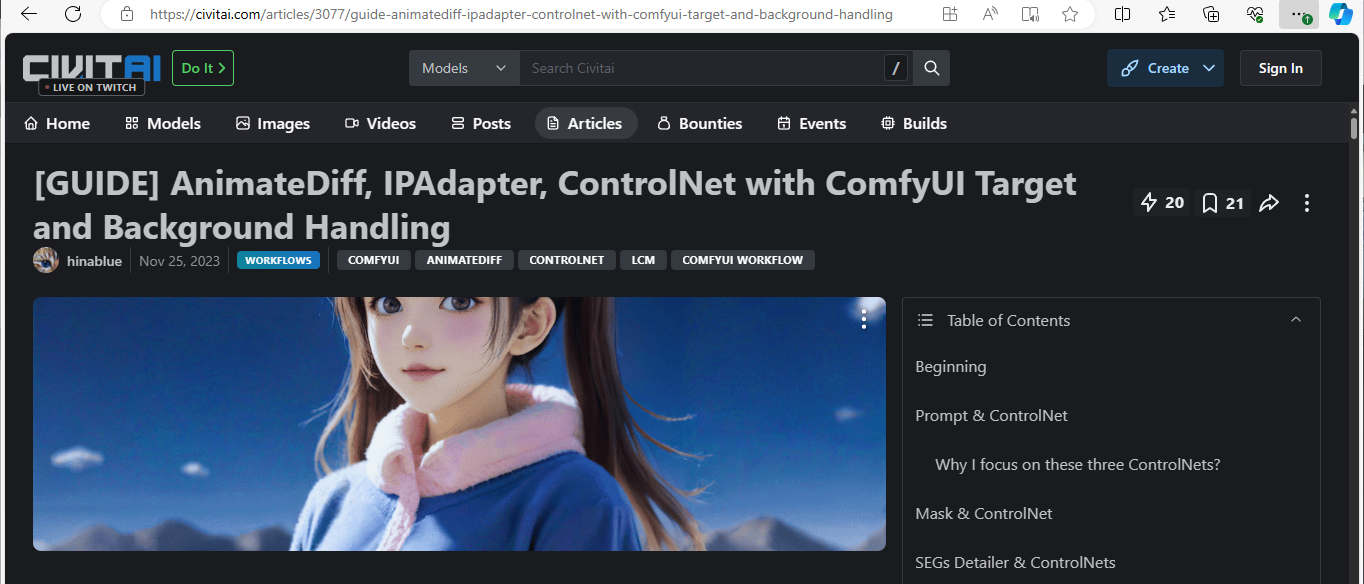
Guide: https://civitai.com/articles/2379
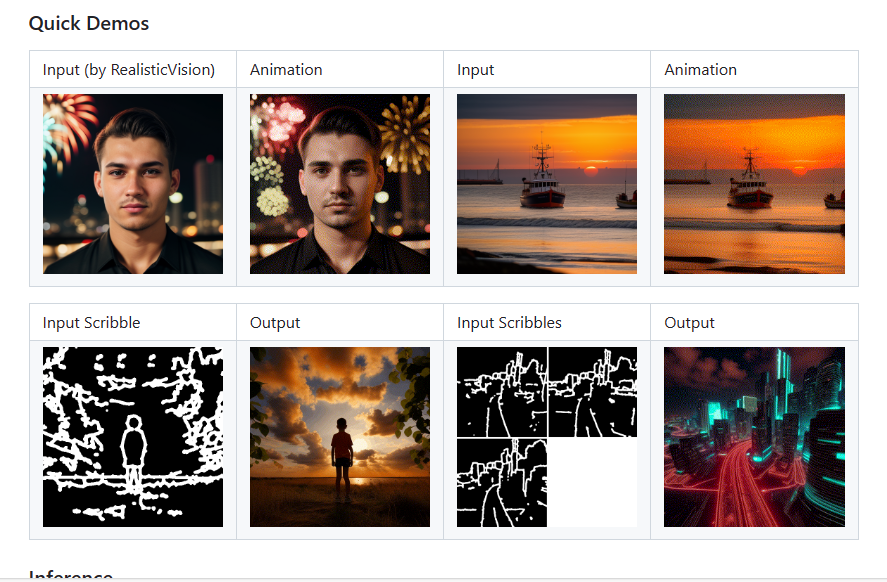
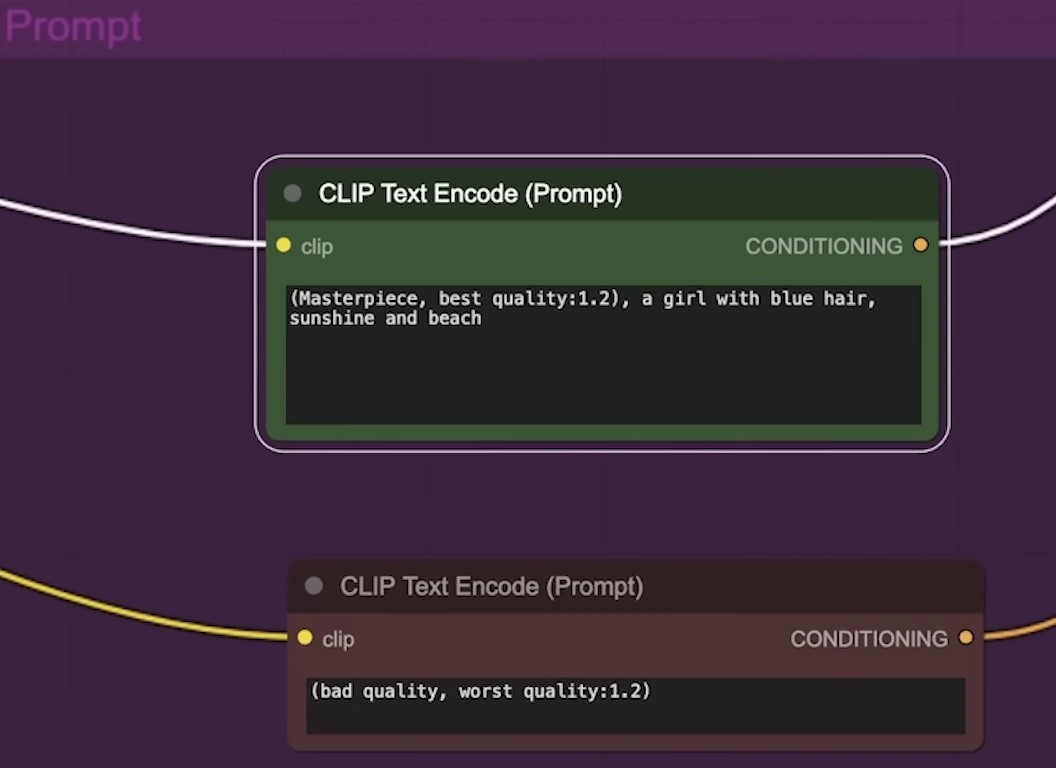
These workflows refine images and parameters, allowing you to set different parameters for each node. We start with an input image. Load a video or a set of images into the video node, then select video.mp4 on your file manager.

The image used is a video of me typing, which will be referenced in the path. Upon clicking the Q prompt, the video starts to load. However, there may be errors, indicated by red boxes.
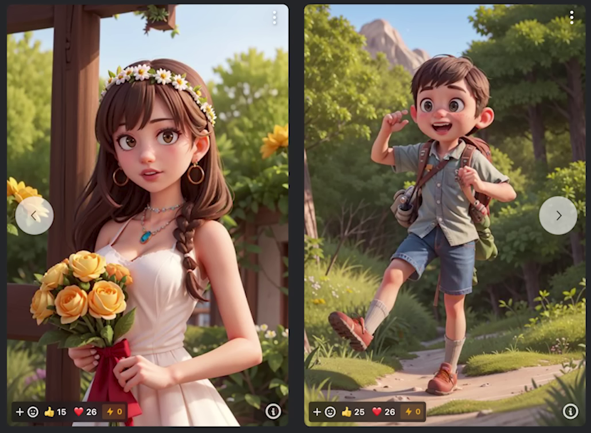
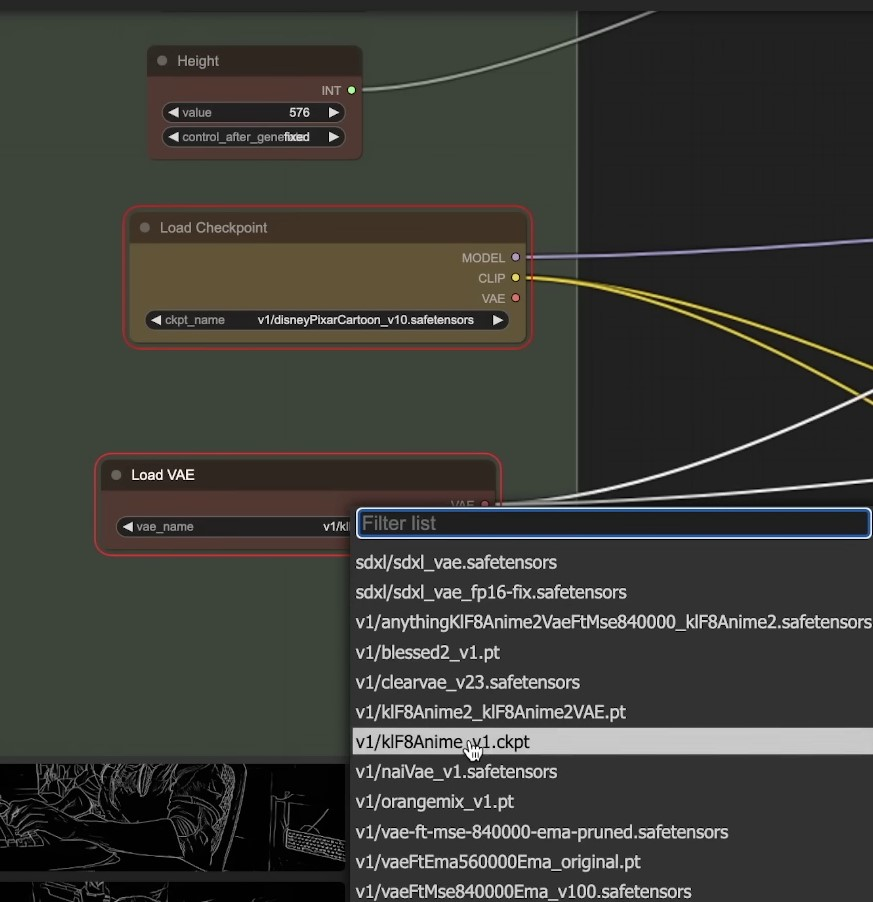
Accessing the server manager allows you to review the log. It may display issues with finding some of the checkpoints, which are like snapshots of pre-trained models. They help in styling the images. Various checkpoints styles are available, including Disney Pixar cartoon style.
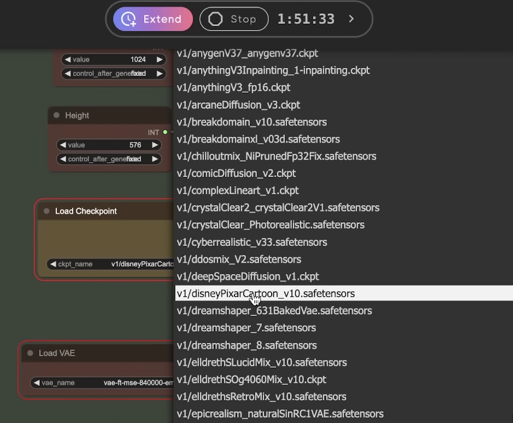
Do not choose SDXL models, as they are incompatible for this example.
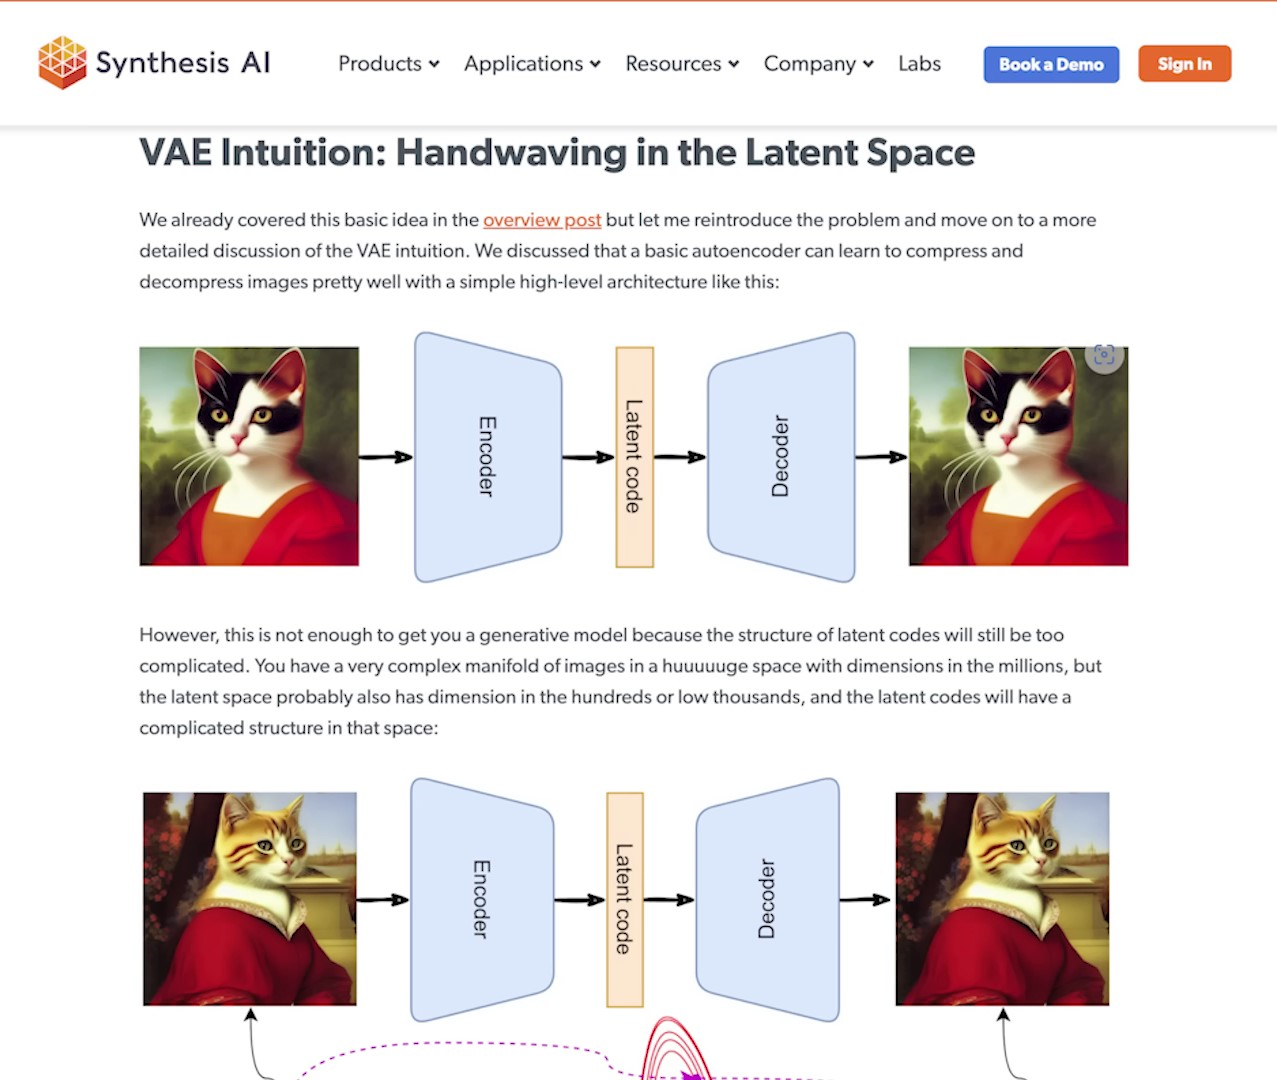
As the workflow is complex, some elements such as VAE may not be familiar.
A Variational Autoencoder (VAE) is a type of generative model that learns to generate new data samples based on a given dataset. It is a deep learning algorithm that combines the power of neural networks and probabilistic modeling. VAEs are particularly well-suited for AI art generation as they can capture the underlying patterns and structures of the input data and generate new, creative outputs based on this learned representation. Source
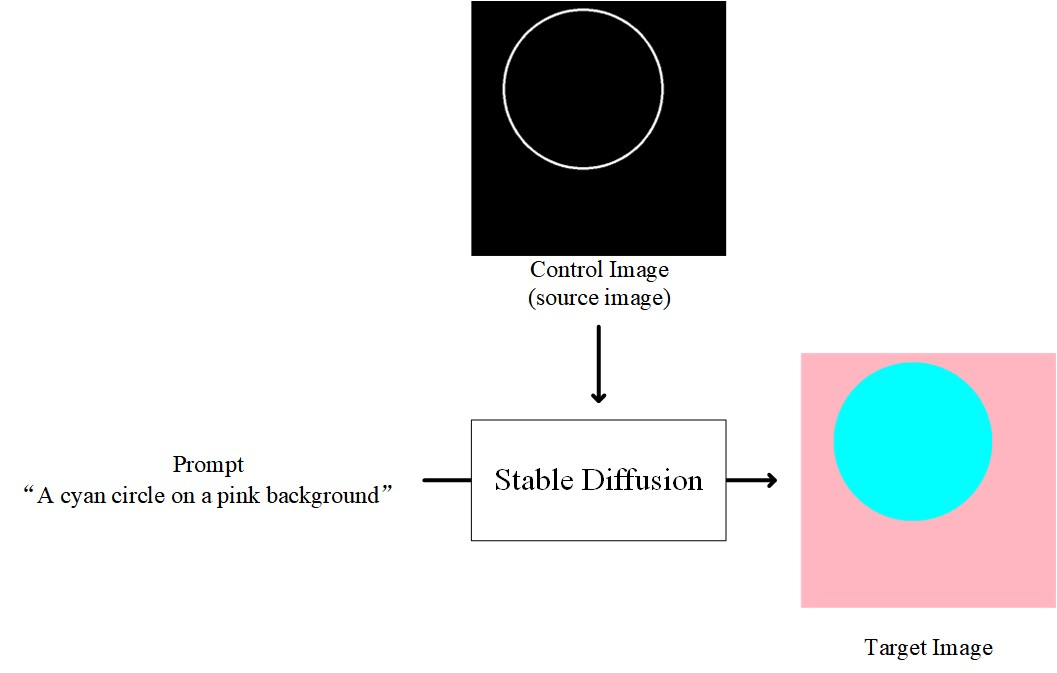
The process also involves generating a line model, which could be used for edge detection in the images or determining motion based on line art. Input and output flows can be checked from here. It flows into some case sampler nodes.
AI Generated Video Example: Cyborg Male Robot in Pixar Style | 0:03:40-0:06:00
https://youtu.be/dFJxwl-azEA?t=220

The system eventually creates an animated GIF with a Pixar-like appearance. This image can be transferred into the node and converted to an MP4 file format, which can then be re-queued. The ComfyUI enables this process without necessitating a re-run of the entire workflow, facilitating a swift conversion. The final AI-generated video can be viewed in MP4 format.
The website, civitai.com, offers numerous pre-trained art styles for generating personal videos. For example, the 'dark sushi mix' model is trained in anime styles.
The platform supports importing of Civit AI models. With one click on the Civit AI button, the URL can be searched and downloaded into your workspace.
Upon changing the style to 'dark sushi' and clicking on 'queue prompt', the workflow runs again, this time rendering the animation in a different style.
Using Midjourney and Runway Gen2 for AI Image and Video Generation | 0:06:00-0:07:40
https://youtu.be/dFJxwl-azEA?t=360
Typically, AI-generated images could be imported first. These images could be generated using Midjourney, Runway, Dali, or other AI image generators.
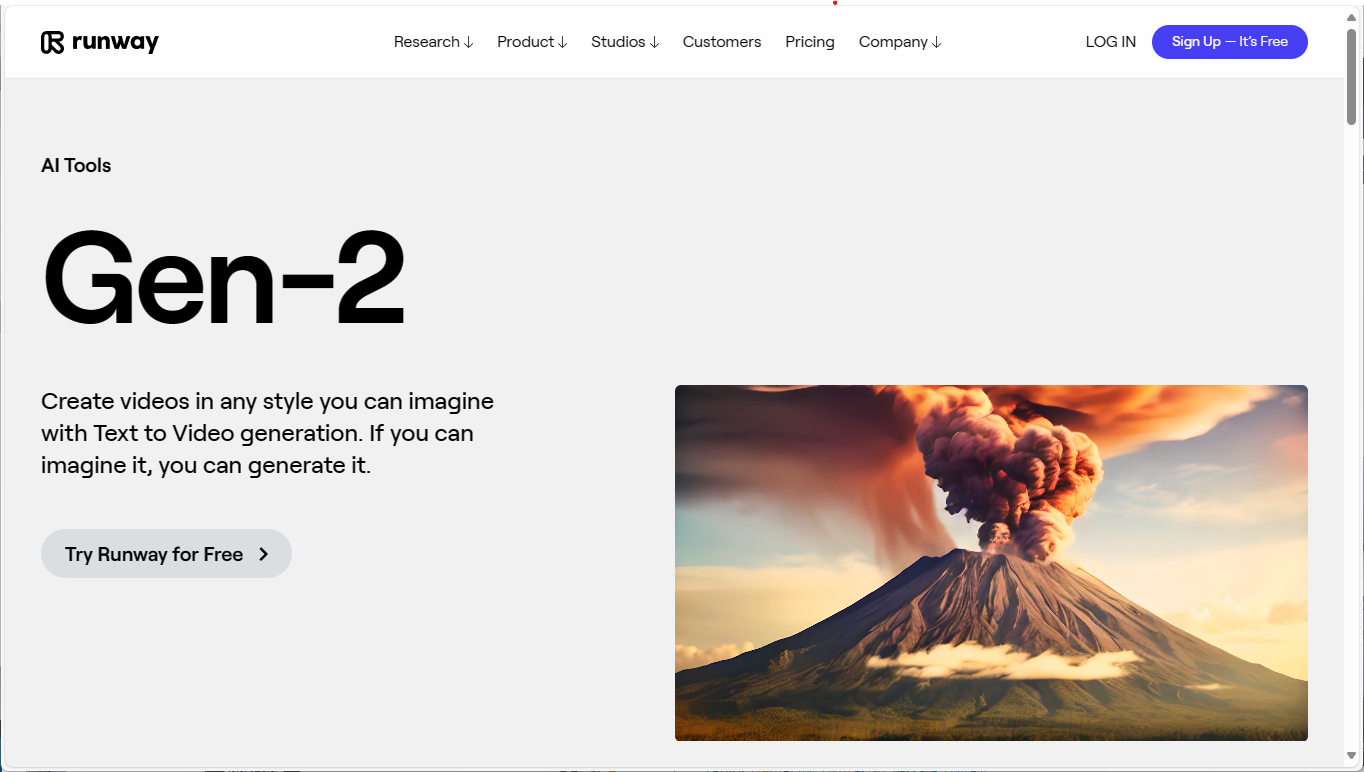
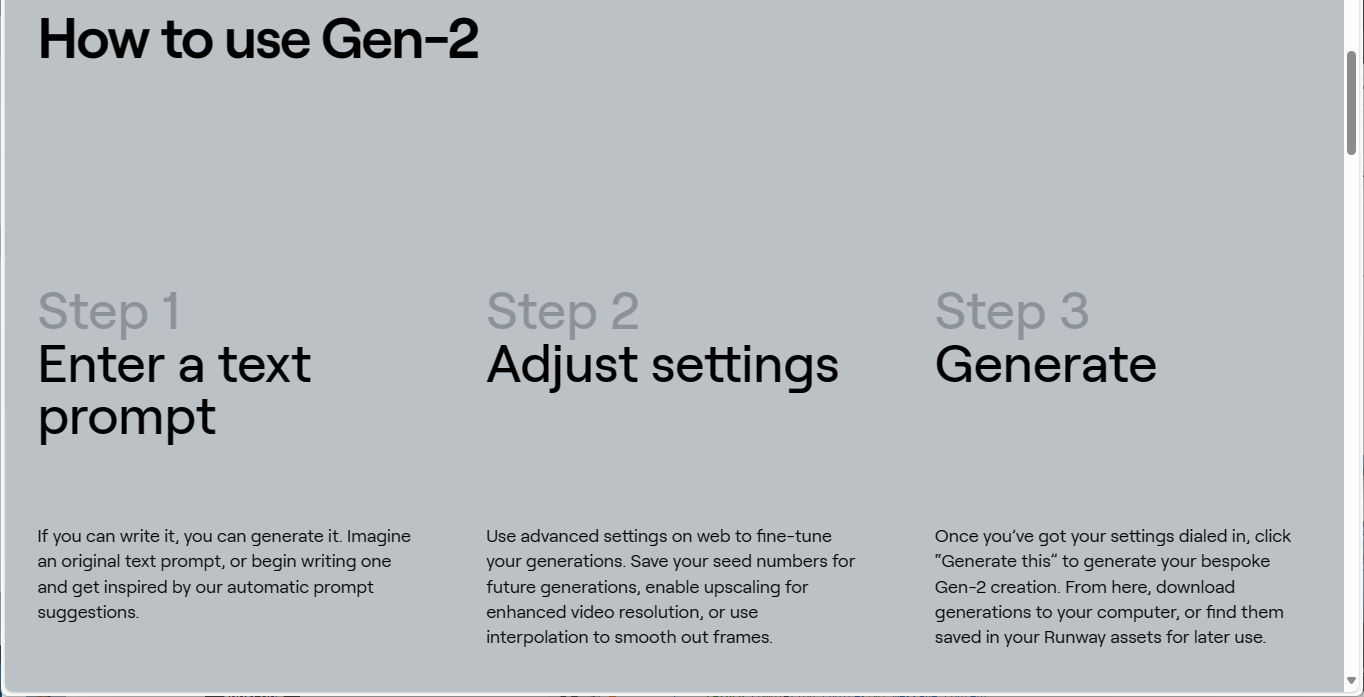
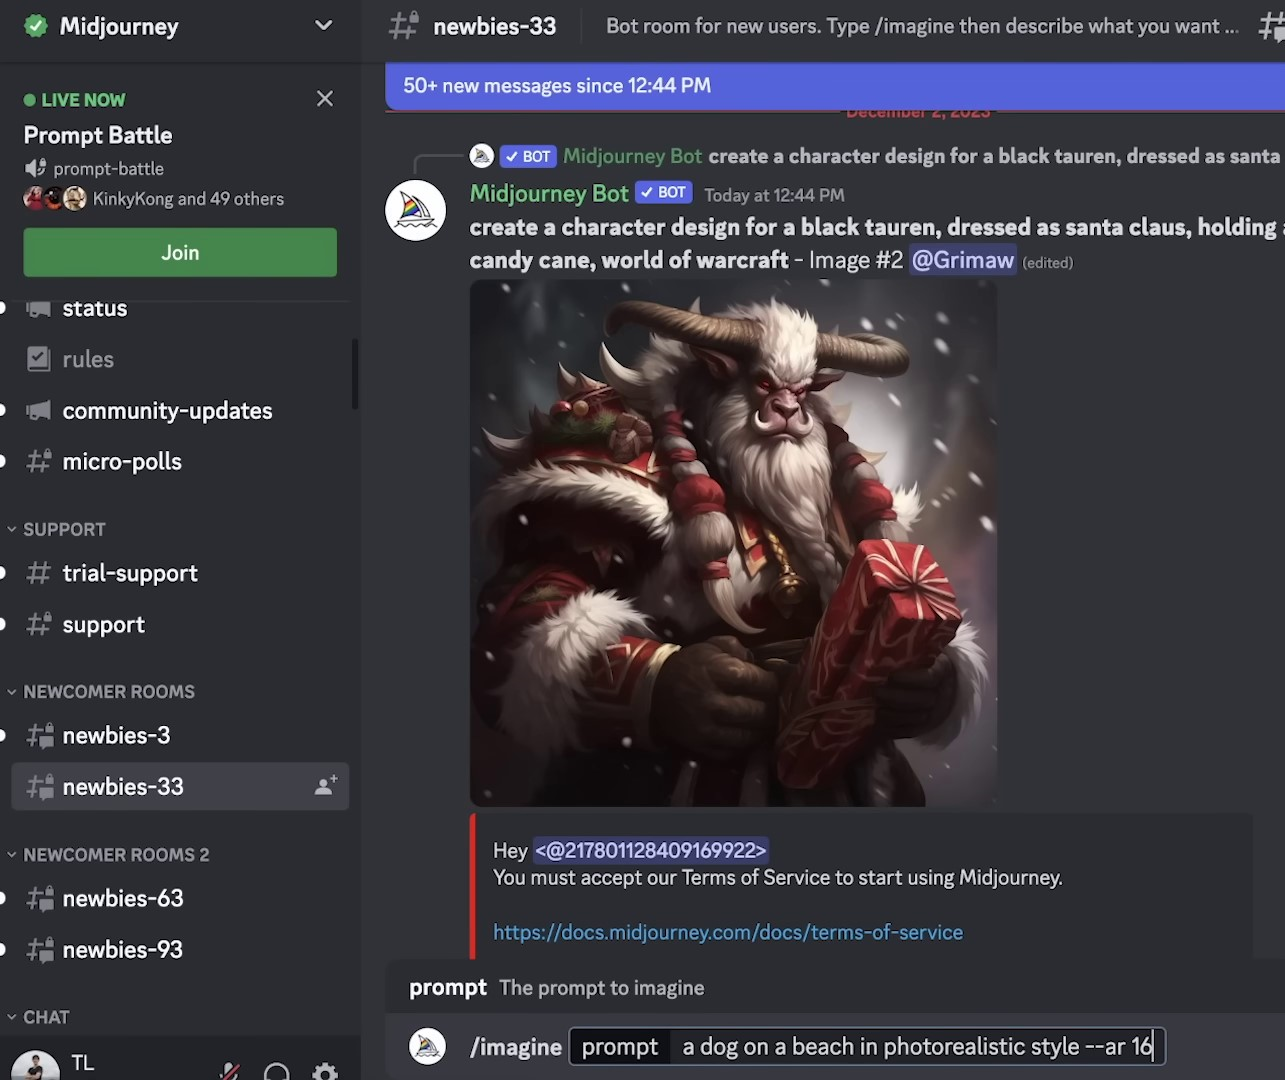
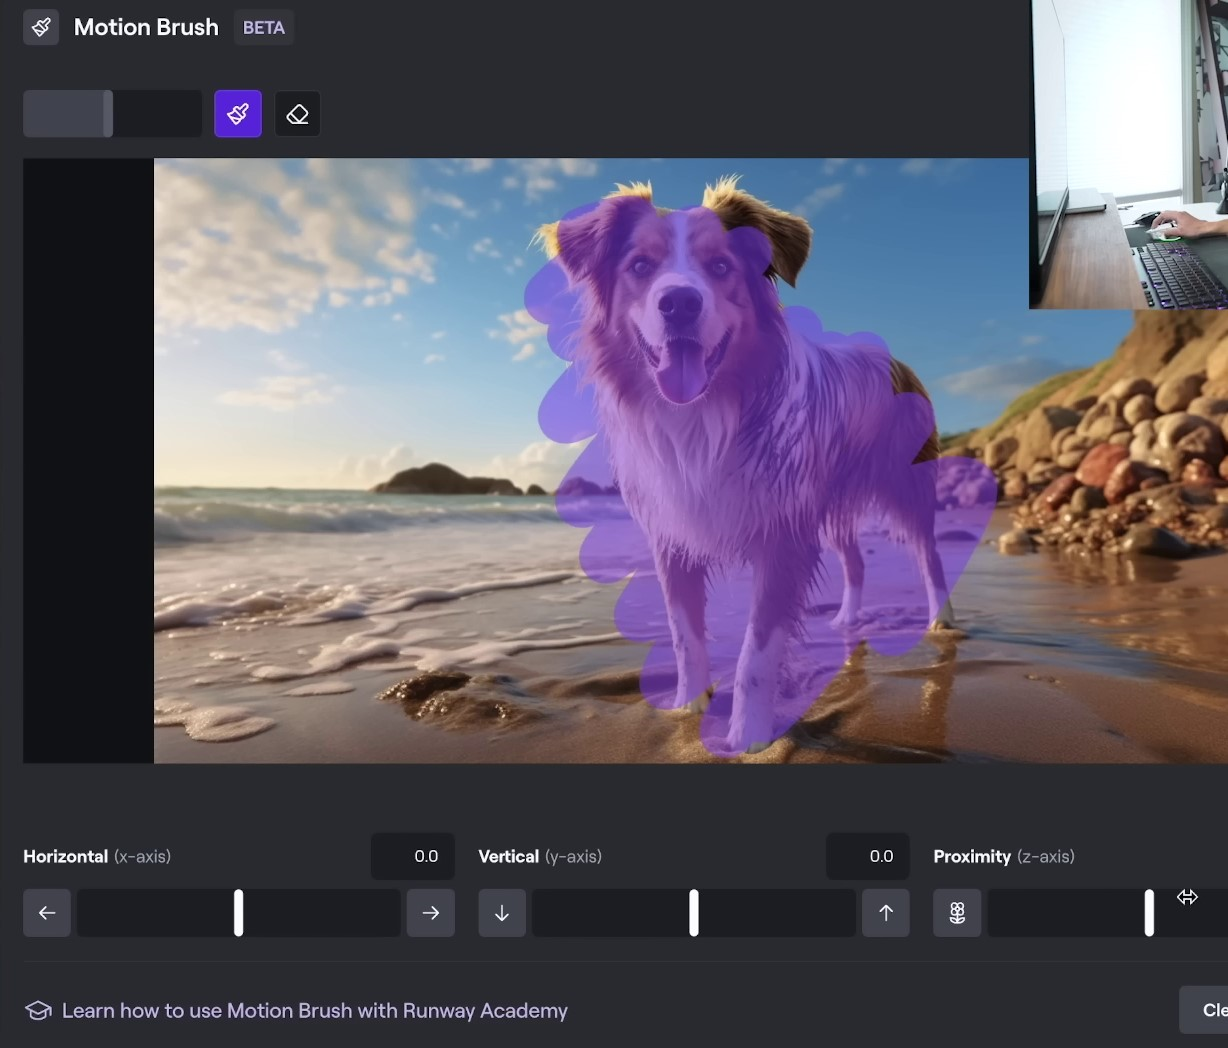
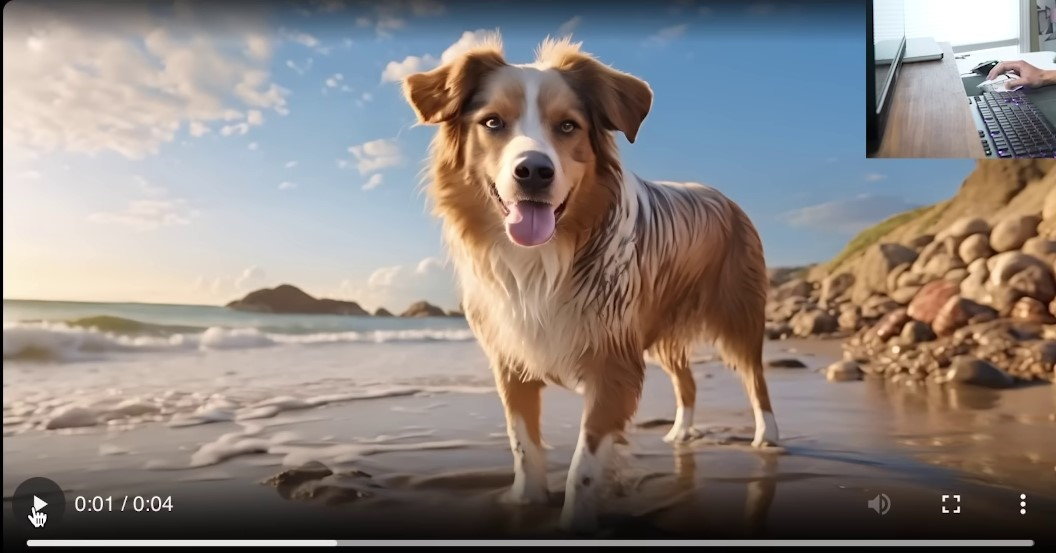
If you're using Midjourney, you need to go to the Midjourney discord. There, you employ the 'imagine' command to generate an image. As an example, you can ask to 'imagine a dog on a beach in a photorealistic style.' Then, you can specify an aspect ratio of 16 by 9, and the platform will generate the image for your mid-journey feed. You can download the image of your dog, import it into Runway and add some camera motion such as zoom out, roll, pan, or even use the 'motion brush' feature where you select the area of the image to animate. Once done, click 'generate.' One advantage of Runway is that it's fairly fast. Within roughly two minutes, you'll have an animated image of a dog on the beach. You can also add a description to explain how you wish the scene to animate.

In addition to Runway Gen 2, they also offer Gen 1 which is a video-to-video generation, similar to earlier animate diff examples. For instance, you can import a video of yourself typing, assign it a style reference or a prompt like a 'cyborg machine robot,' and then generate the video. Runway also offers preview styles, a useful feature for artists. I believe that the ease of use and user interface are essential for AI tools, especially for creatives. With Runway, you can see a preview of various styles, and then generate the video based on your selection. Therefore, while RunwayML offers a simpler process, it might be less customizable than running your own nodes.
WAV2Lip: Sync Lips to Video Easily | 0:07:40-0:08:40
https://youtu.be/dFJxwl-azEA?t=460


There's also a GitHub project, SDWAV2LipUHQ, which apparently enhances the original WAV2Lib using stable diffusion techniques.
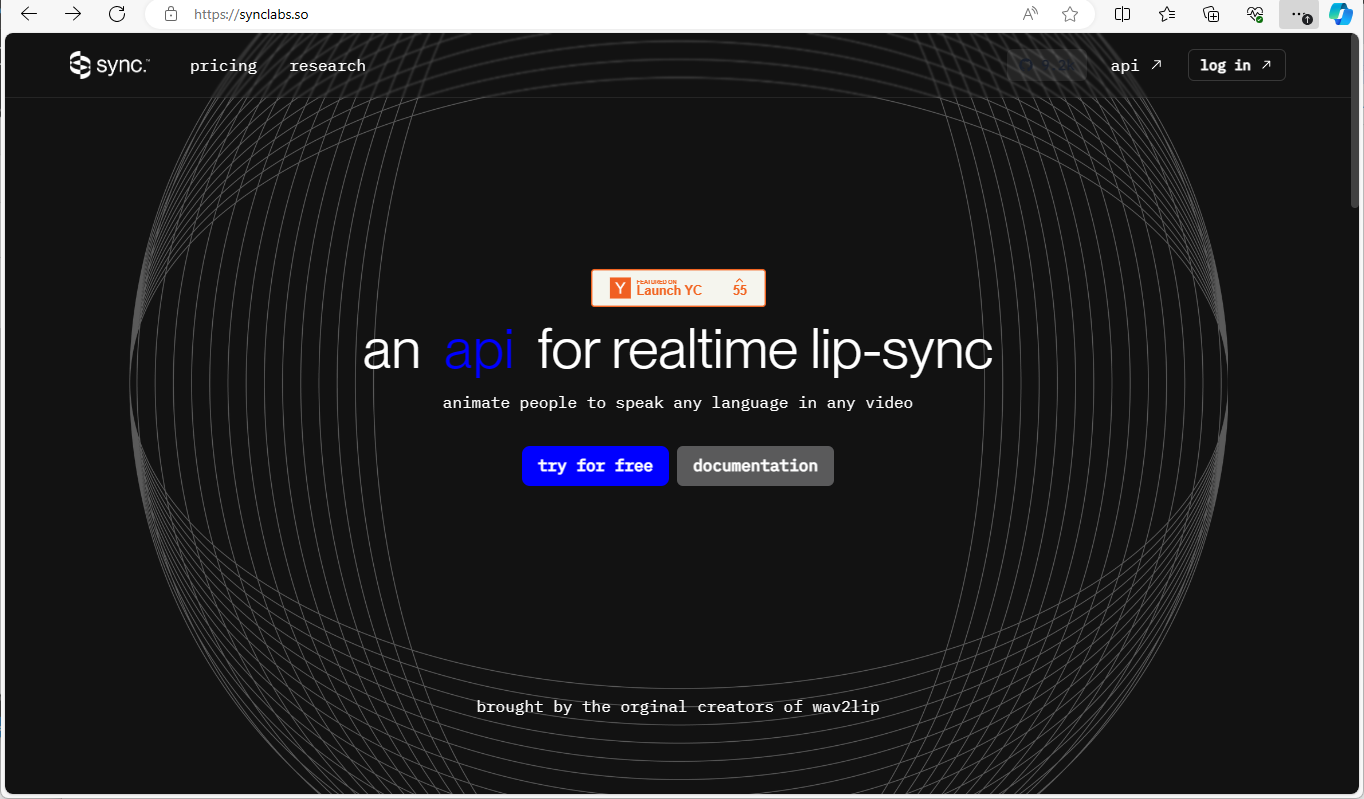
The original WAV2Lip, available on the website, Synclabs.so has hosted versions that eliminate the need to spend time experimenting with various tools. With this website, all you need to do is upload a video and an audio file then click a button; it handles most of the training and generates the video for you.
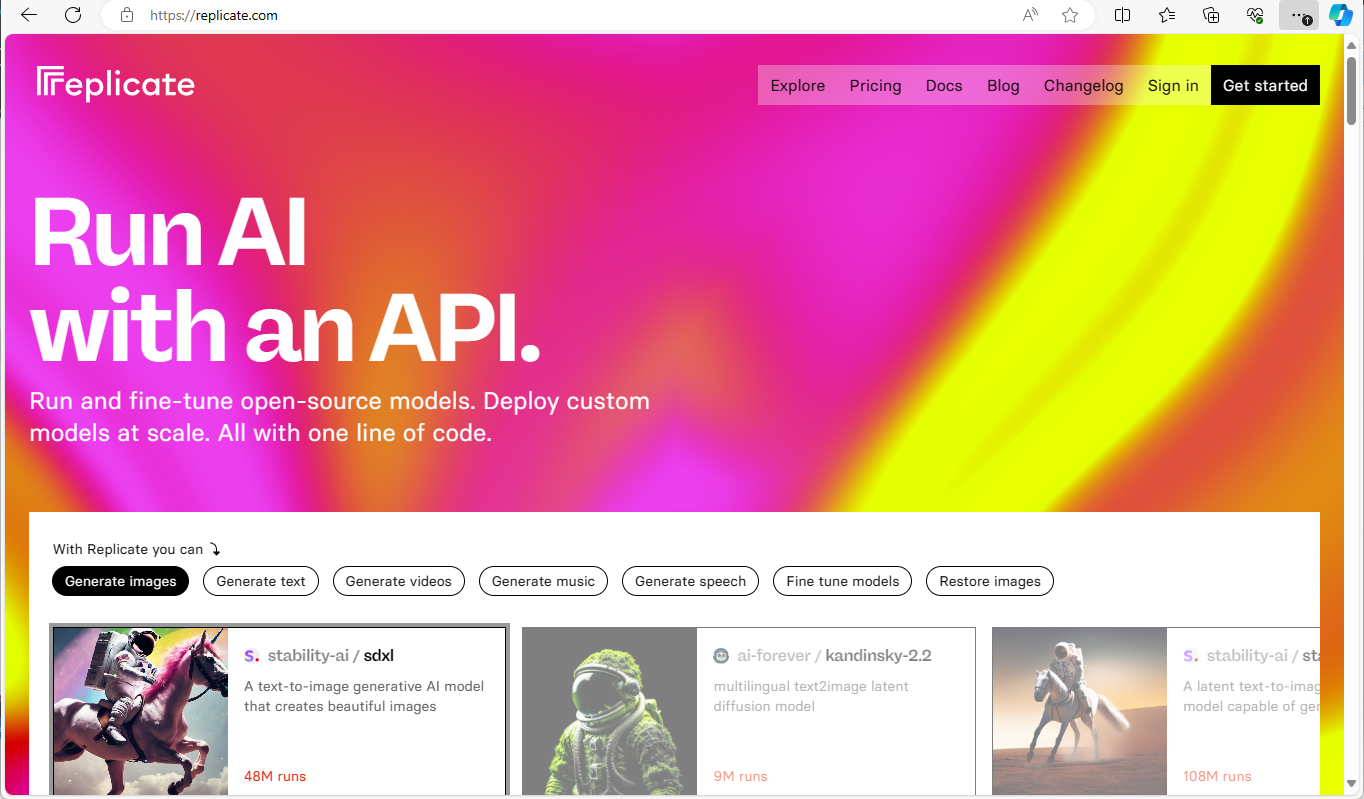
For audio tracks, if you're trying to clone a voice, the tool on replicate.com is highly recommended. Replicate is essentially a platform for hosted machine learning models. I've used the Toradoy's TDS model on this site. You can then generate speech from text or clone voices from MP3 files, simply by typing in the text, uploading a voice sample, and clicking 'run'. This generates the audio file for you.
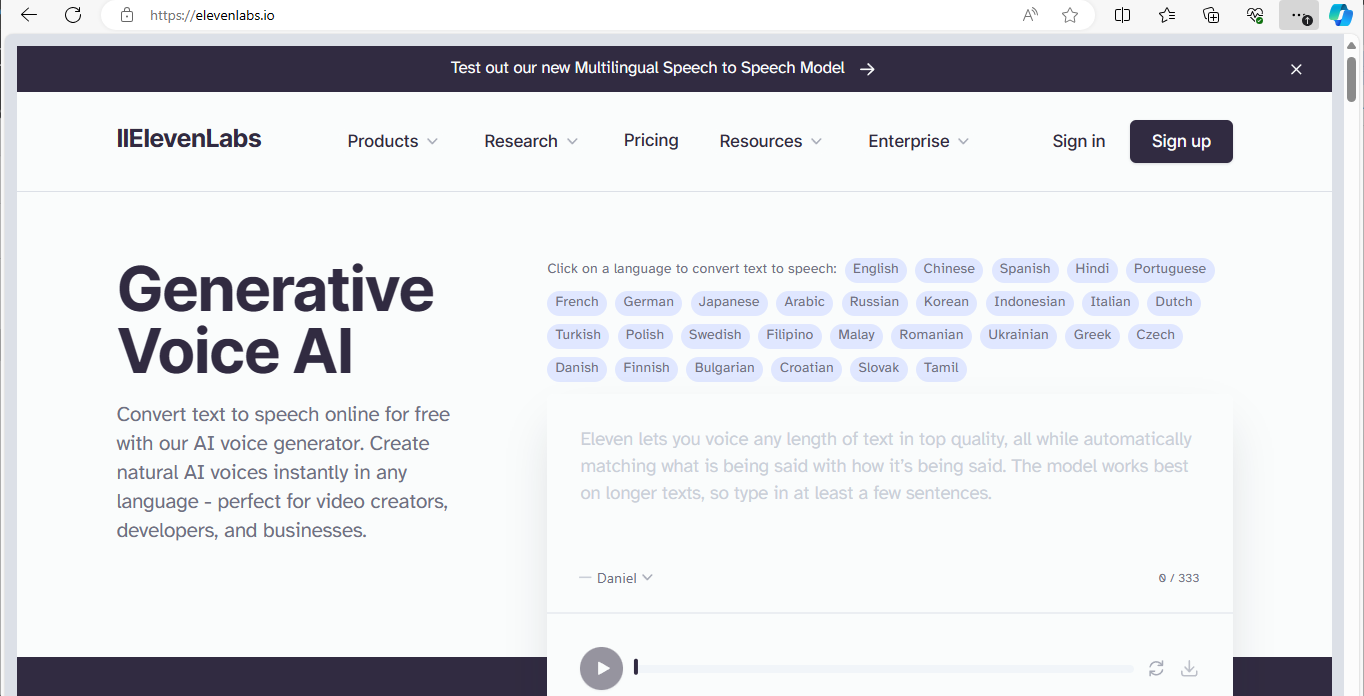
Should you encounter any problems with Replicate, elevenlabs.io provides a viable alternative. This site also offers a generative voice AI service.

It might be possible to run a model locally with the project in this Github Repository: GitHub - serhii-kucherenko/afiaka87-tortoise-tts: A multi-voice TTS system trained with an emphasis on quality
SDXL Turbo: Real-Time Text to Image Generation | 0:08:40-10:10:10
https://youtu.be/dFJxwl-azEA?t=540
For those who are curious, these workflows can be replicated independently. You can go to the Comfy UI GitHub page and find examples, including the SDXL Turbo. To use this, simply download the workflow using Comfy UI, import the SDXL Turbo checkpoint, click 'QPrompt', and it will process faster.
In conclusion, this is a basic primer on AI video and AI art generation. One of my favorite tools for beginners in this area is RunwayML.com. Here, you can find a variety of tools such as text-to-video generation, video-to-video, image-to-image generation, image enhancement, subtitles, and more.
